Adding a New Intake to the Elise
Tools
- Philips screwdriver
- 13mm socket and wrench
- 10mm socket
- Allen wrench?
- lug wrench
- car jack
Process
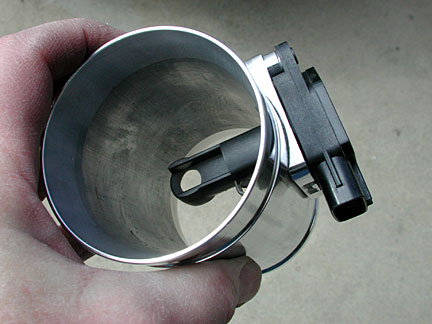
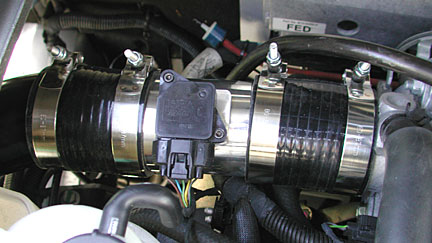
- mount the mass air flow sensor on the intake tube. It will only fit one way. Use Allen head cap screws, M4 x 13mm. The O ring is not meant for re-use but can be if it still supple. Note the view down the tube as it is from the air filter side. Note the buttresses on the small hole at the end of the mass air flow sensor.
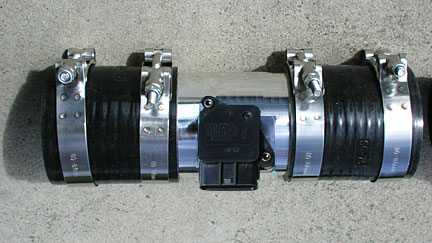
- add a hose to both sides of the intake and attach with the hose clamps. Note the position of the band tightening screws at the top. The air flow is from left to right and you should be able to read the information stamped on the mass air flow sensor.
The tightening screws will interfere with fewer hoses if mounted above the intake tube but the clamps will work either way.
Add hose clamps to both ends but do not tighten.
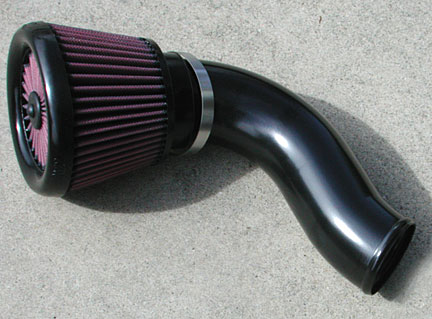
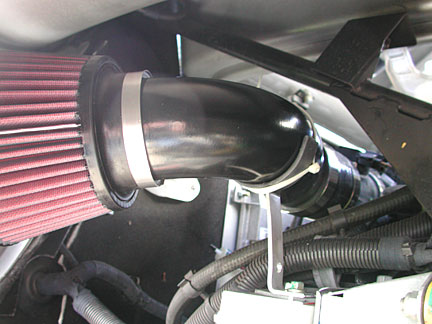
- slide the air filter onto the bent tube at the end with the sharpest bend. Add and tighten the hose clamp supplied with the air filter.
Care must be taken to make sure the bent tube stays all the way inside the air filter when the clamp is tightened.
- test fit the intake in the car. Push the right side rubber tube onto the throttle body of the engine. Push the air filter and bent tube into the intake side of the mass air flow tube. Do not tighten the clamps.
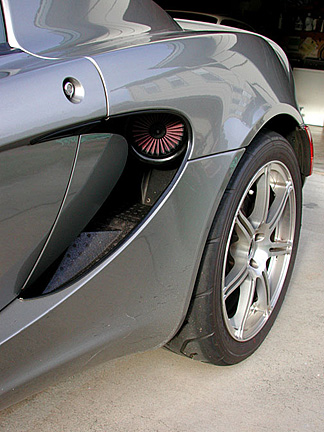
Rotate the air filter so that it is in the desired position. There is some room to move it and the bent tube provides a different location as it rotates. Make sure the air filter does not rest on any bodywork or on the wheel well liner.
- mount the yoke L bracket in a position where it can support the bent tube. There is a bolt on the frame that should be used.
- the bent tube can be attached to the Y yoke with tie wraps or left as it is.
The Y yoke is a temporary solution until the heat shield becomes available as the shield will limit the movement of the intake.
- Note the hole at the bottom of the Y yoke. The solenoid for the VSV can be mounted here if it is retained.
- tighten all clamps.
Make sure no parts interfere or rub against any rubber tubing. Make sure the clamps are tight and do not allow any air leaks.
- plug in the mass air flow sensor cable.
- reinstall the wheel liner using the same six fasteners..
- mount the tire and wheel
- lower car and remove jack
- torque lug nuts on wheel to 77 ft-lbs.
Admire your hard work and enjoy your first drive with the new intake.