
Geochron Restoration
January 2019
I bought the Geochron used, directly from the compay in 1995. I was told the mechanism was reliable as it had brass gears. It kept time for 15 years and then I turned it off. Along with my philosophy of not turning on games if their condition is unknown, I did not want to run the Geochron until I rebuilt the mechanism. I purchased a new map and planned on converting the lighting to light emitting diodes (LED).
Often disassembly instrructions are very detailed and at the end, you are told that assembly is the reverse of assembly. The disadvantage is that you are constantly photographing dirty stuff as it is removed from the mechanism. I decided to reverse the process and show the assembly instructions. At the end you will be told that disassembly is the reverse of assembly. While not shown, I have exploded views of the various mechanisms as I disassembled them. Please ask if you need any of them.
I have never worked on a Geocrhon before so there are certainly more efficient ways to do so. I will note where I had problems and will provide my solutions. They may not be the best way.
Roller and Map Motor
The rollers on the right side are fixed and are not spring loaded. The drive motor for the map turns a sprockeet on the roller.
Moving Sun and Shadow Table
The mechanism to move the position of the sun is complicated because it must trace an uneven figure 8. The Geochron uses two tables on tracks and this page shows the first table.
Shadows and Electric Wiring
The shadows are controlled by the plates. The wiring is completed.
Adding the Date and Day of the Week Tapes
The date and day of the week tapes are installed and the tension rollers modified.
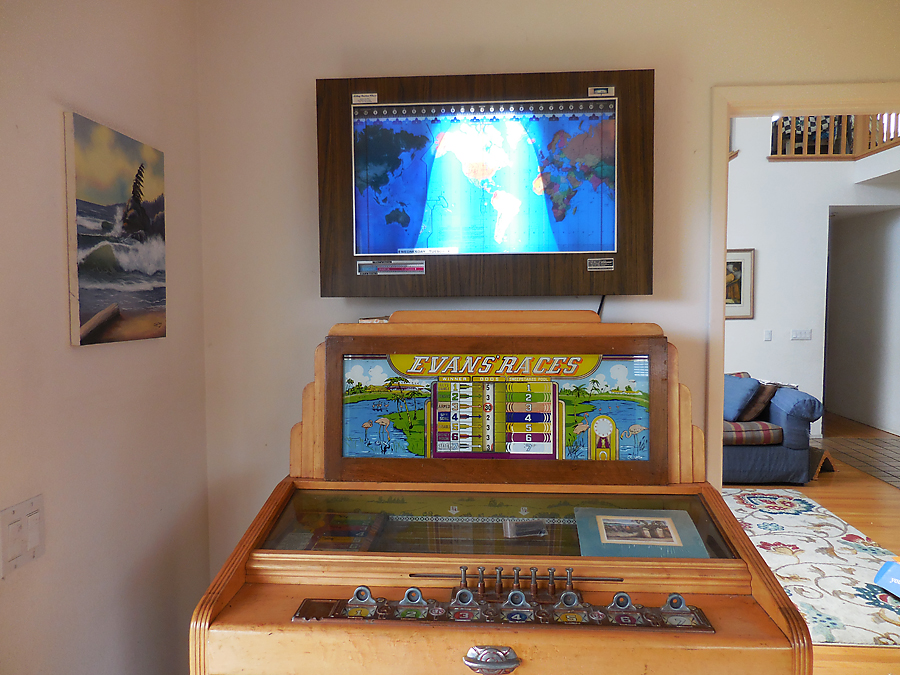
Install the Map and Case
The case is installed and the Geochron hung on the wall.