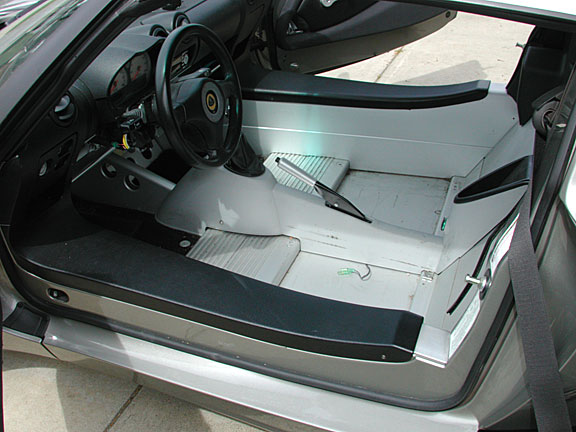
Removing the Shift Console
These instructions show you how to remove the shift console. This is done in preparation for bracing the shift matrix, painting the console, or servicing the shift mechanism. The pictures show the revised shift lever, after it was upgraded from the original which was failing (see recall information).
- Block your wheels so the car does not move as you will be applying and releasing the emergency brake and will be shifting in and out of gear. Disconnect the battery cables.
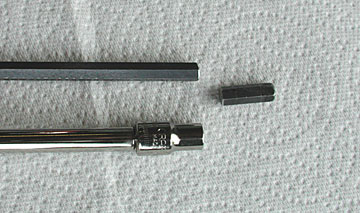
- Create a tool that will make seat removal easier. Cut off an inch of the 6mm hex wrench. This can be inserted in a 6mm socket and taped to hold it in place. Then extension and a U joint can be placed on the wrench to provide easier access to the seat hex head bolts. You can continue to use the L hex head wrench but it takes a lot longer. You can also buy these already made.
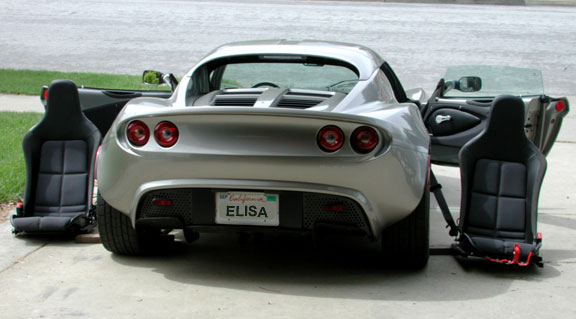
- Remove the seats. The wire connected to the driver's seat triggers the seat belt alarm. I leave mine disconnected because I do not need to be reminded.
- Remove the cup holder and the power adapter surround. There is one small philips screw holding the black cup holder in place and two longer screws holding the power plug suround in place. Unplug the T plug that provides power to the power adaptor and set the two plastic pieces aside. Not the two rear inside seat bolts hold the back of the shift matrix in position, as the tabs are extensing out the sides.
- Pull the emergency brake handle up and put the car in second gear.
- Remove the emergency brake handle by loosening the two hex head grub screws in the under side of the handle.
- Remove the shift knob. There may be a set or grub screw in the back side that needs to be loosened.
- Remove the two Torx screws on either side of the shift console.

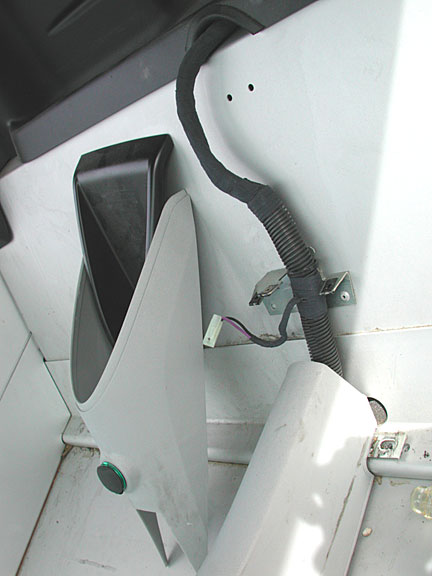
- Lift the console up part way and unplug the door lock switch cable. There is a plug about seven inches down from the switch. Wiggle it back and forth to unplug. The plug is keyed and so can only go back together one way.
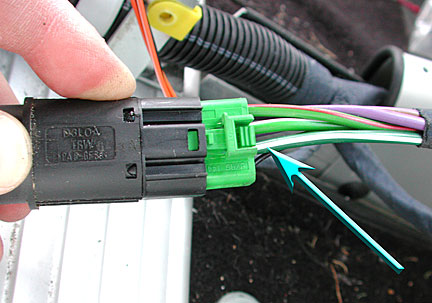
- Reach up towards the hazzard switch. There is a small push tab that will unlock the plug at the base of the switch. You will have to do this blind. This plug is keyed as well so you do not have to worry when reassembling. (see notes below)
- Lift the console until you can reach the base of the leather shift boot. There is a Nylon tie wrap holding the shift boot to the base of the reverse lift collar. Cut it off.

- Remove the shift console. You will have to tilt it back and forth in order to clear the shift knob and emergency brake.
Notes:
- Assembly is the reverse of disassembly.
- You will need a new tie wrap to attach the base of the shift boot to the shift lever. Note the shift lever has an area at the base of the lift collar for reverse that will keep the tie wrap and shift boot in place when you tighten the tie.
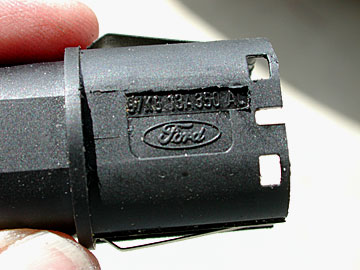
- The Elise has some Ford parts, note the hazzard light switch. The hazzard switch fell apart as I pulled the plug loose. There is an LED indicator lamp in the bottom and the cover can only go on one way as it is keyed like the plug.
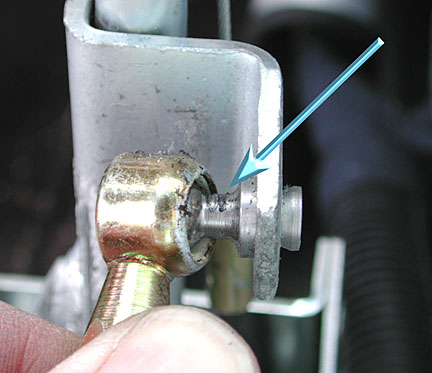
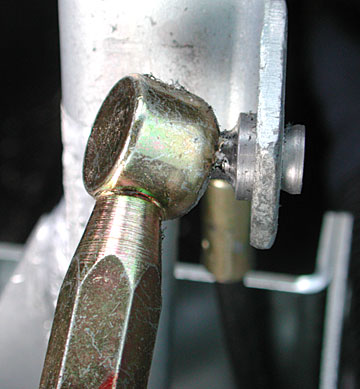
- Check your spherical ends on the shift cables. My ends were preloaded and caused the outside shell to wear into the neck of the spherical connector. Loosen the lock nut, rotate the case to relieve the tension and retighten the lock nut. Check to make sure the shell is not wearing further. Note in the picture below, I am holding the head in the correct position. The arrow points to the wear in the neck.