
A Game with Personality
Happy-Go-Lucky (Gottlieb 1951)
Before and After pictures show how the restoration is proceeding. In some cases the after picture deliberately shows some artifacts of the repair. This is an honest attempt to show the quality of the repair, even with some of the flaws. It is hoped that when viewing the actual game, the flaws in the restoration will not be obvious.
Playfield
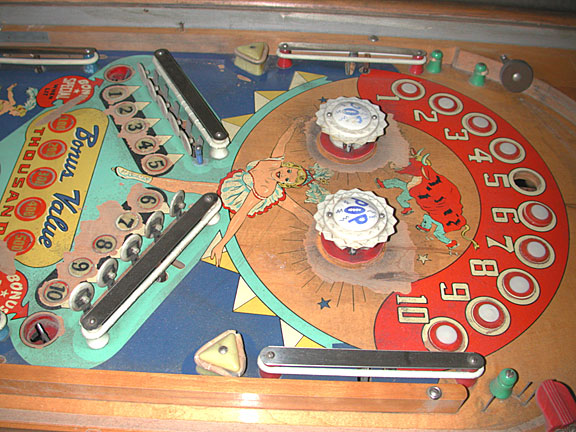
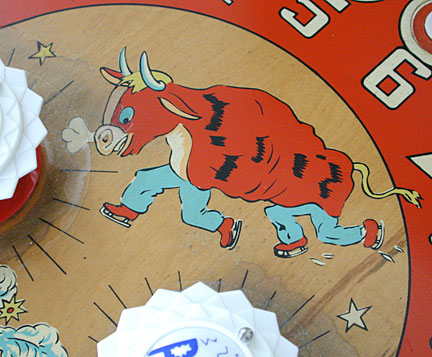
Playfield before start of restoration. Note the area in front of the kickout holes, the area around the numbered targets, and the wear around the pop bumpers, including the head of the bull.
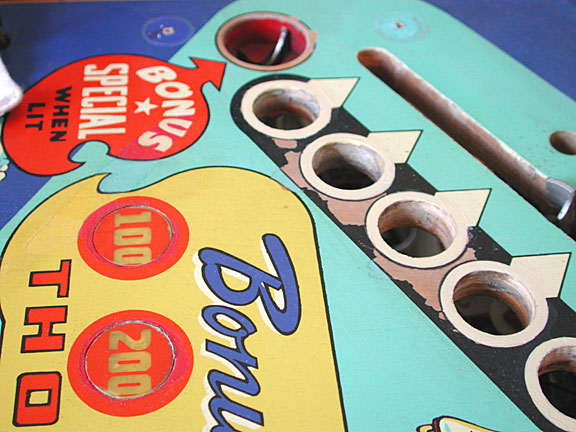
Here white circles have been painted around the numbered inserts and the area in front of the kick outhole repaired. There is still white residue around the bonus inserts that will be eventually painted red to match the insert.
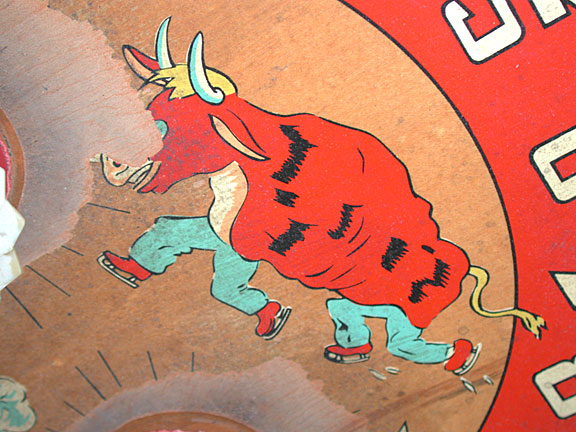
This is a close up of the bull before restoration.
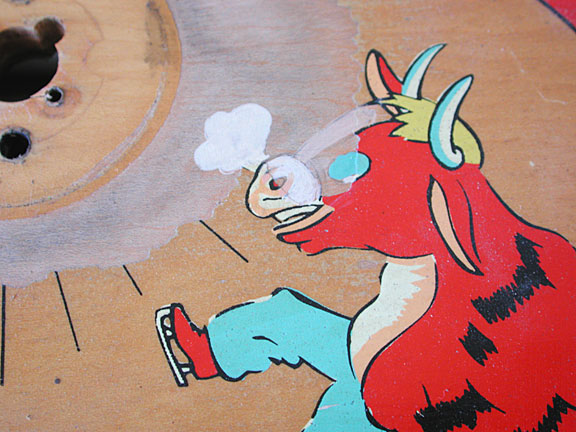
Here is a partial restoration of the face of the bull.
Finished bull. The clear Mylar protection ring will further protect the area around the bull's head.
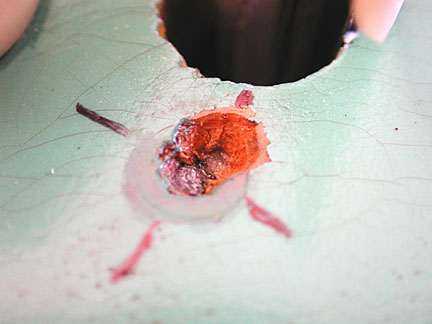
Here a screw holding the blue posts has broken off in the playfield. Worse, there is a second broken off screw just to the far side of the first one. They both needed to come out in order to provide room for the replacement. The center of the hole is marked with a Sharpie so it can be found later to locate the fixed hole.
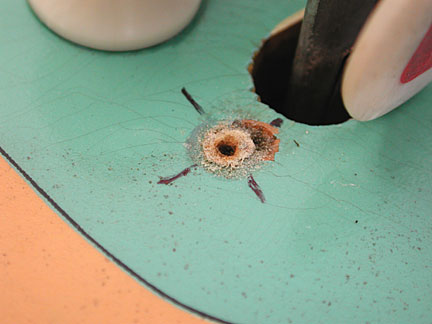
The metal has been drilled out of the hole and some charring from heat has resulted. The hole will be filled with bamboo skewers and some wood glue to hold them in.
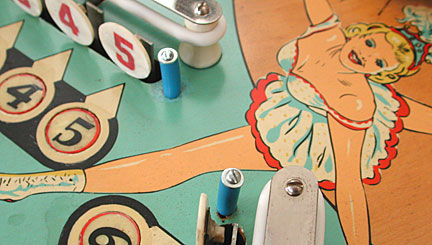
A pilot hole is drilled to allow insertion of the replacement post screw and the centering marks removed with alcohol.
Cabinet
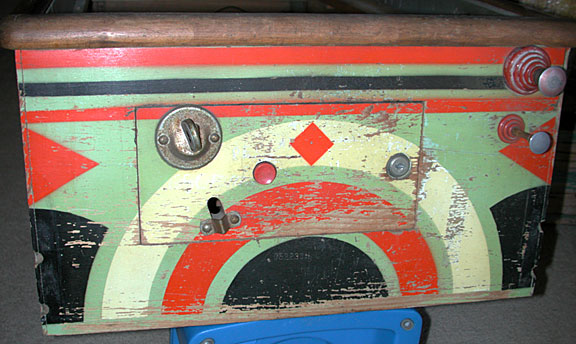
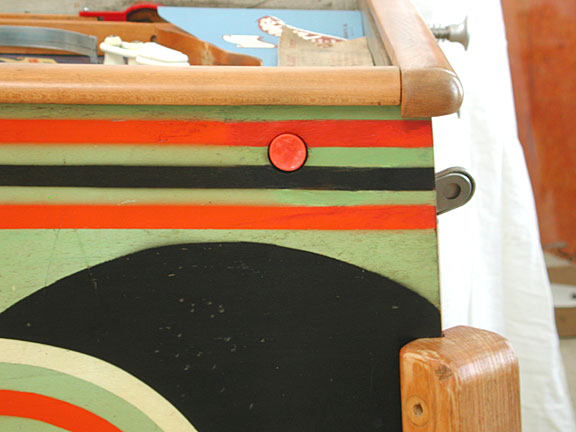
The original cabinet must have gotten wet. The wood grain was raised and the paint was flaking off easily. Just a finger brush would cause flakes to come off. Initially the front was clear coated in order to preserve what remained. Then the wood areas were touched up.
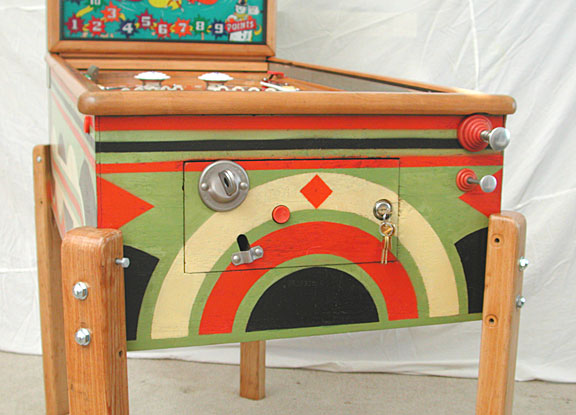
The finished front, with the metal pieces cleaned and a new lock installed looks good. The legs are not finished and do not have the bolts in the cross grain to keep them from splitting. The front of the cabinet looks better in this picture than in reality since the green color was very difficult to touch up. Note the green above the left black area. The final touched up front was again clear coated to protect the front of the game from further wear or decoration.
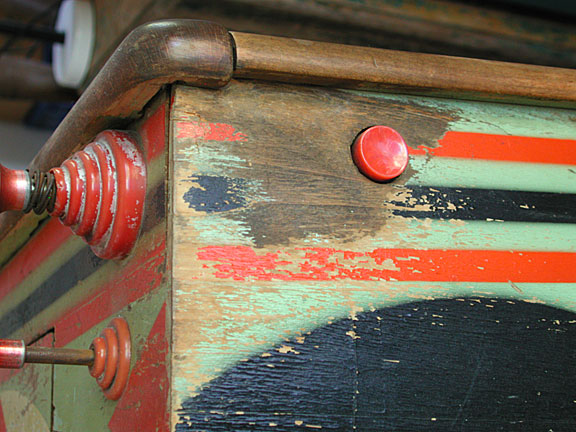
Here the wear around the right flipper button is evident. The sweat and oil from the players' hands has stained the wood.

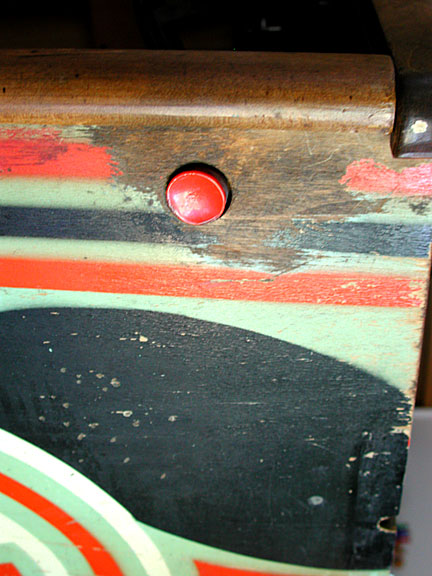
Here is the repaired area. No attempt to duplicate the overspray was made as the overspray was uneven. The area was clear coated again to prevent damage of the restored area.
Here the left flipper button area has some filler in order to level some cracking in the end of the cabinet.
Here the area around the flipper button has been restored as well as the black area that had numerous nicks.
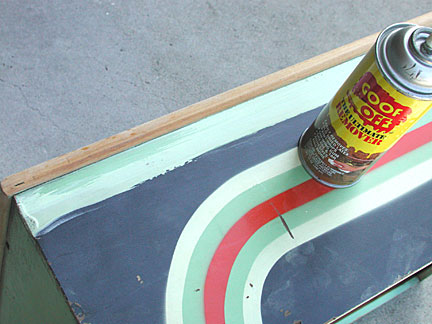
The Latex paint stripe on the side of the cabinet was poorly done, with globs of paint at the edge.
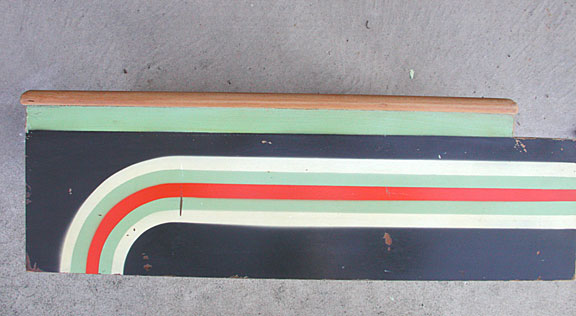
The paint under the touch up was in perfect condition! Goof Off removed the latex paint and left the original.
Mechanicals
Mechanically the game was complete. Rather than bore you with our standard mechanical restoration procedures, where we take absolutely every metal piece off the game, bead blast or ultrasonically clean it, and assemble the game so it all plays perfectly, I will just say we did it to this game. I just passed over half the time we spent restoring the game! Well, maybe a few pictures will help illustrate the quality of work.
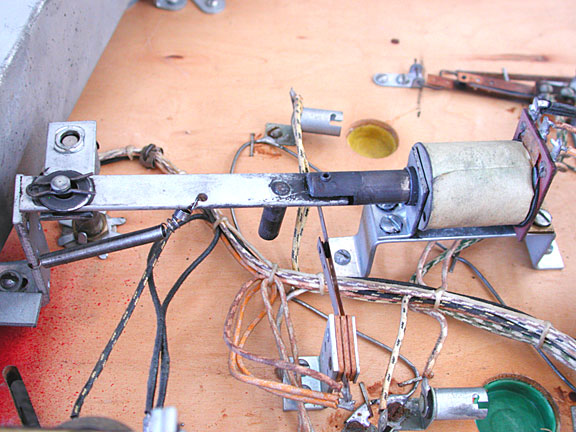
The coils are being replaced. The flipper coils have already been done and the sling shots are next.
One of the pop bumper coils has been changed and rebuilt. The targets and other things that stick up on the art side of the playfield are retracted so the playfield can be clear coated. Holes are taped to prevent overspray from coming through.
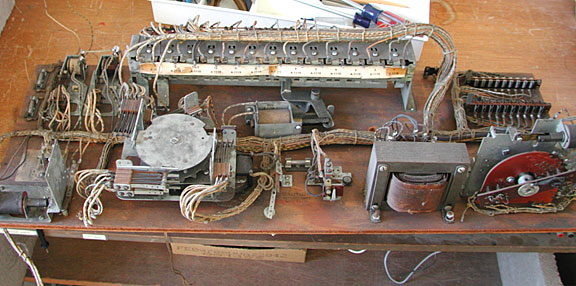
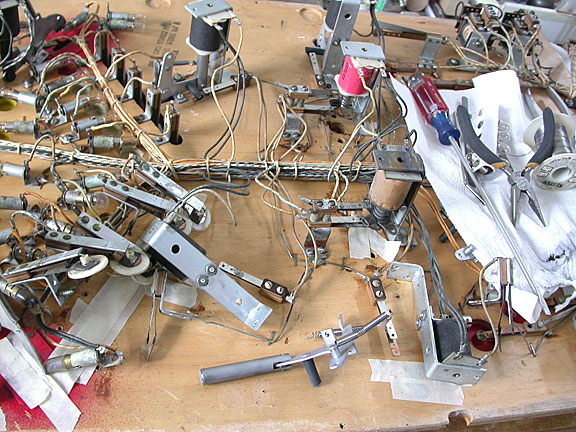
The bottom board is removed and each assembly rebuilt.
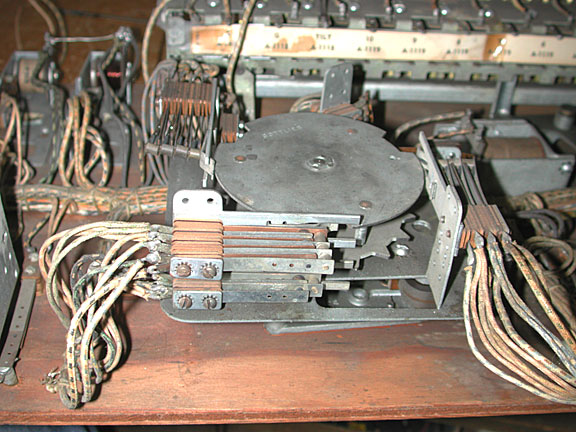
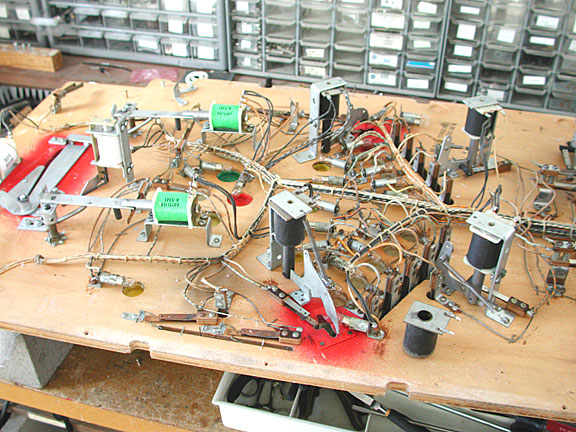
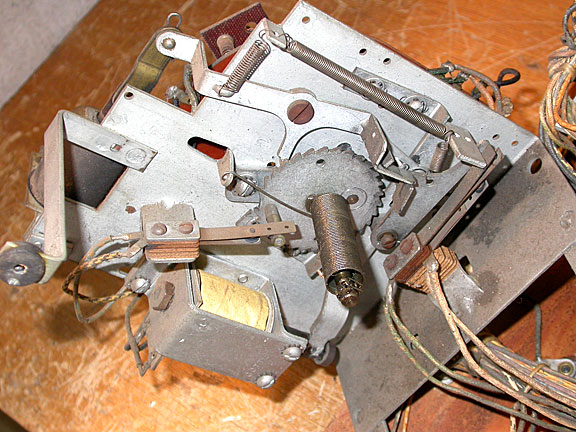
The motor seems to collect most of the dirt. Note how jumbled the switch stacks look.
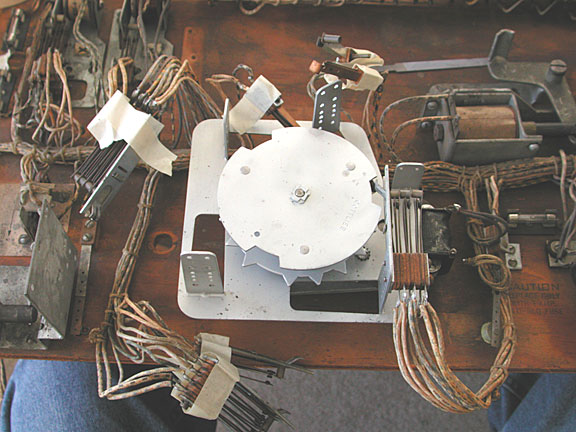
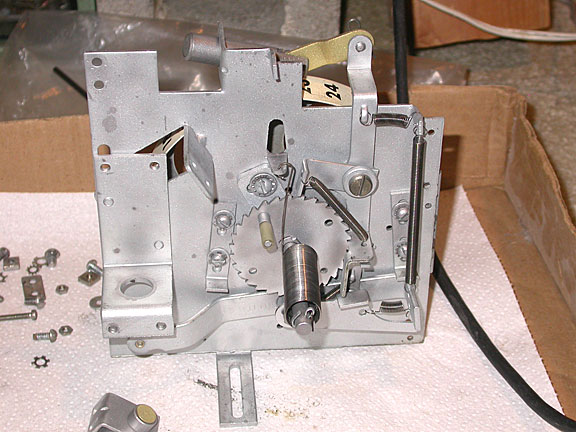
The motor is removed and bead blasted. The actual motor itself is cleaned in an ultrasonic cleaner and relubricated. Switch stacks are held together with masking tape until they are ready to be mounted again. Each leaf is straightened and the contacts cleaned. Occasionally the high voltage contacts are filed flat again.
The flipper mechanism was dirty and had excessive play. The spring was incorrect and the flipper bat broken. It was in sorry condition.
This rusty stepper unit needs to be disassembled and cleaned. Each piece is removed. Springs and nuts and bolts are cleaned i the ultrasonic cleaner as beads will remove the temper and distort the springs. The rest of the metal parts are bead blasted.
The cleaned hardware is ready to be installed in the game. This is the credit unit.
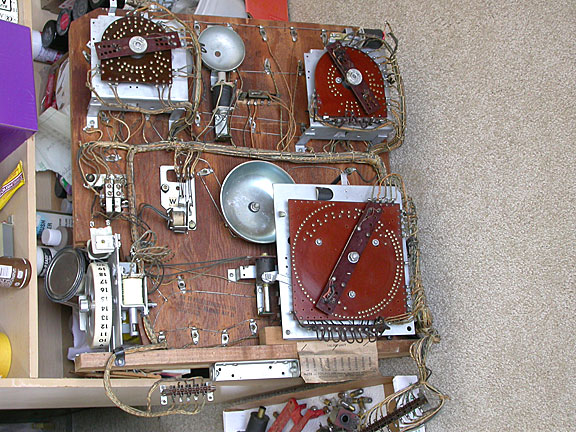
All the units in the head have been restored and the head is ready to be installed as a complete assembly.
Backglass and Instruction Card
The backgass is touched up and the instruction card reproduced.
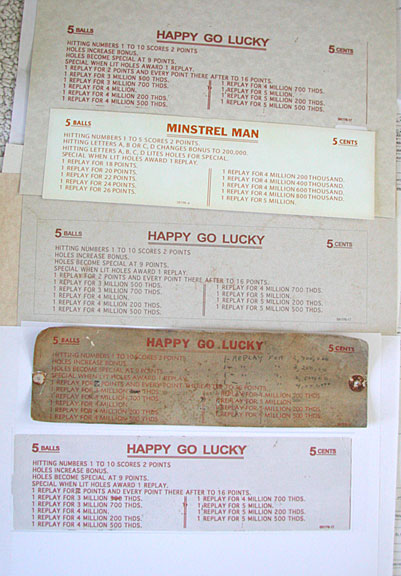
The original instruction card is second from the bottom. Note the hand letter in the right hand area and the thumbtack holes. You can see a reproduction instruction card for Minstrel Man second from the top as it has an artificial yellowing to the edges. The top two Happy-Go-Lucky cards were just red lettering printed on craft paper, paper that has some texture applied, and is used for scrap book projects. The bottom Happy-Go-Lucky card was printed on pure white stock. It is simply a scan of the original but with some electronic bleaching and repairs done prior to printing. Using Photoshop, the original scan was repaired using the clone tool and then the brightness and contrast used to reduce but not eliminate the dirty look. Note also the part number was retained as part of our attention to detail.
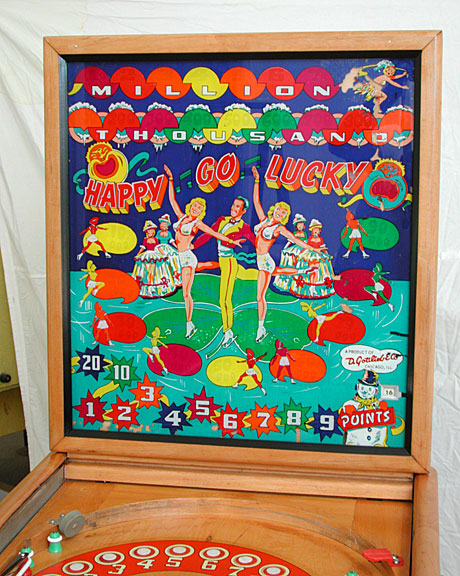
Note the area around the credit window, especially to the right. Note also the skater in the upper right corner and the blue area just to her left.