
Bear Assembly
The following pictures and text document the final assembly of the Shoot the Bear. Most of the disassembly, cleaning, repairing broken parts, and assembly of major modules has already been done. All the parts are clean and are in tested and working condition. There are three sections, including this one. Later I will add how to assemble the various modules, including the amplifier, score and shot count steppers, bear, dog, and track.
Gun Assembly
The gun assembly shows the trigger plate, lamp holder, barrel, gun cover, and wiring are added.
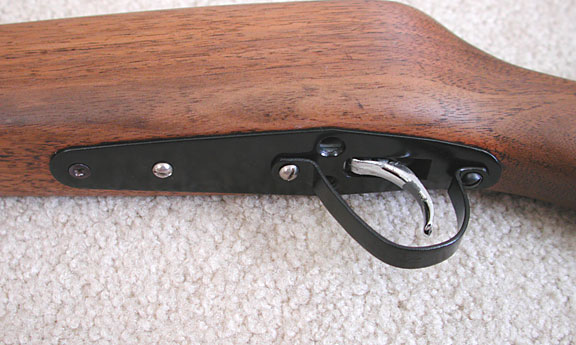
The trigger plate mounts to the wood stock with two wood screws. It provides a mounting for the trigger guard and the trigger mechanism.
The trigger terminals are exposed at the top. Care must be taken not to obstruct the grooves in the wood just to the right of the terminals as these provide clearance for the through screws that attach the lamp cover casting.
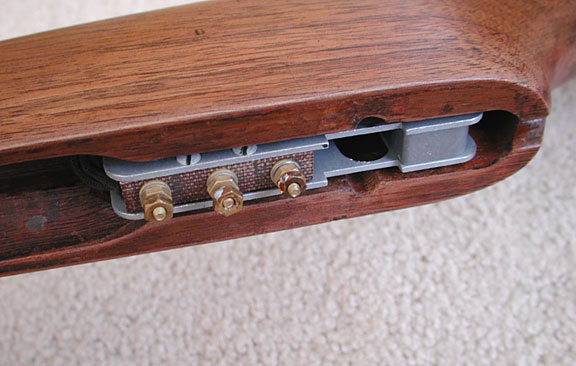
The gun strain relief screws into the stock. It may be easier to run the gun wiring through the strain relief before attaching the coil to the gun itself.

The gun wiring is added.
The gun wiring is attached to the trigger terminals. The original colors were green, brown, and red, so be sure and note the change if your cable differs.

The lamp cartridge is assembled and a preliminary focus is done to make the final focus easier.
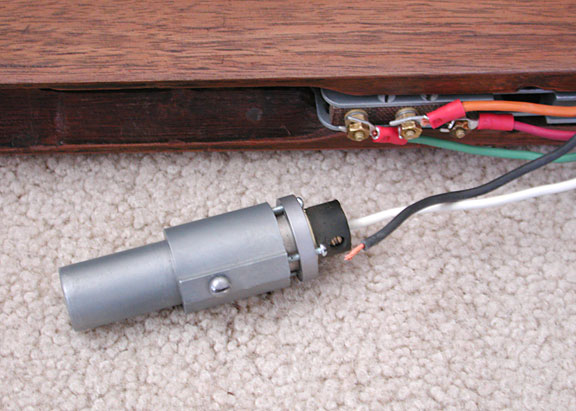
The lamp cartridge is wired.
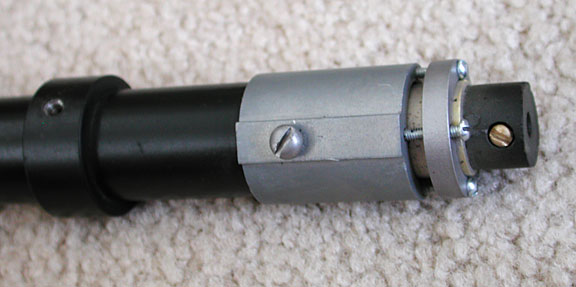
The cartridge is placed in the barrel and the lens at the end of the barrel is installed. Now the final assembly can be aimed, with a one inch circle of light on the far wall being the objective.
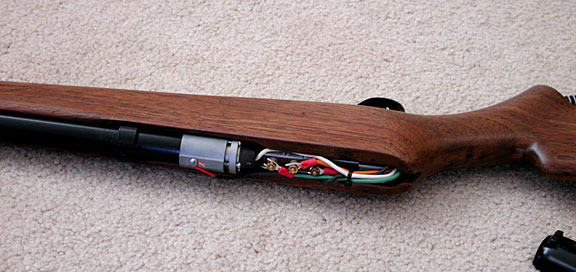
The barrel and lamp cartridge can now be installed in the gun and the wiring tied back to allow for the through screws.
The gun cover is attached. Care must be taken to protect the threads in the top of the cover casting as these are frequently cross threaded and ruined. The screws for the cover should be custom cut to the exact length needed.
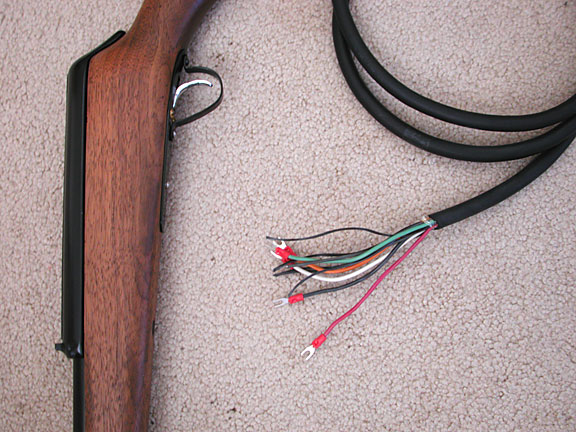
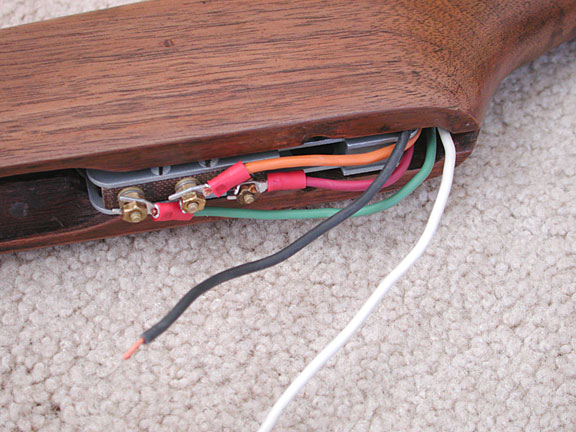
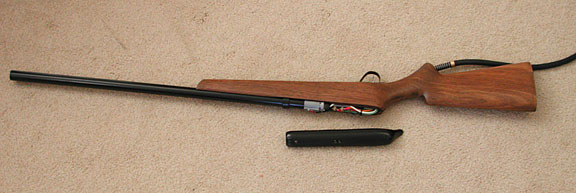
Crimp lugs are added to the other end of the gun cable.

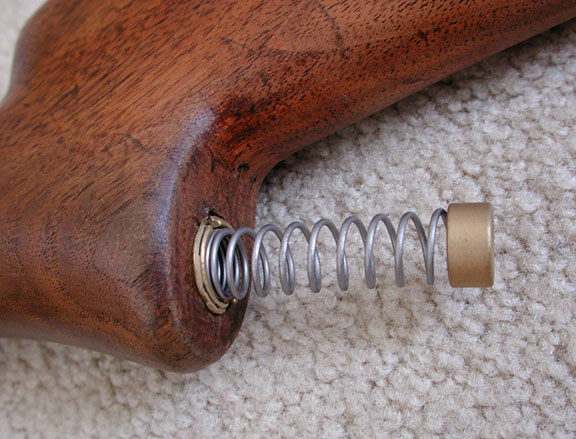
The gun butt can be added and if new, trimmed to the correct size.
The gun assembly is now complete.
Door Assembly
The score and rating bar are added to the door, as are the glass and scenery. The hinges and lock strike also need to be attached.